Showing posts with label DIY. Show all posts

Wednesday, June 27, 2012

A 15 minute DIY

Creative Goodness

I really don't like having blank walls, if there is something I can put on a wall to make it tell a story then I will try. Recently, I re-arranged Stellas room and became very aware of a blank wall staring back at me. Something needed to go there, something simple and pretty. But what?

I decided on a very plain, but very sweet bunting. It took me only 15 minutes, and I love it! Something you could also use to pretty up a dessert table or hang above a birthday cake. The process was as simple as 1, 2, 3...

Description of Photo

1. Cut your preferred size of triangles out of felt. (Use one as a template so they are all the same size)
2. Use a hole punch to put a teeny hole in the top two corners of each triangle.
3. Thread each one together with your choice of twine or ribbon and hang!

Description of Photo

Beautiful effect with minimal effort! Now that's the kind of DIY I love! What have you been crafting lately? Like me, do you have a short attention span when it comes to your creative abilities?

Plenty of love, 
winterlove blog natalie

Saturday, June 23, 2012

Another month, another handmade gift.

Description of Photo
'Tis the season for children's birthday parties! Or so it feels. Stellas social life has been a whirlwind of busyness lately...she receives more Facebook invites and party summons in the mail than I do myself!

Our latest fairy bread experience was an hour out of town, for a sweet little girls second birthday.  I spent the night before crafting a card and colour co-ordinating my wrapping paper...after all, handmade gift giving is my favourite part about birthdays.

Description of Photo

Have you received any sweet hand wrapped gifts lately? Or created a one-of-a-kind card? It doesn't mater how messy or imperfect a handmade card is, I love it so much more all the same!
Plenty of love, 
winterlove blog natalie

Saturday, June 16, 2012

A cute {as a button} DIY

Description of Photo

Description of Photo
Buttons are the sweetest. I seem to subconsciously collect buttons in co-ordinated colours and bundle them into little jars and pile them onto display plates around the house. I didn't even realise I had a button obsession until Stella started to point out all the buttons around our house!

With my nesting in full swing and more creative juices flowing than ever before I thought I would try my hand at DIY jewellery. I sourced some earring backs and ring bases online, and began dreaming of  cute little buttons. But, rather than using buttons I already had...I wanted to make my own. So, welcome onto the DIY scene; clay!

The clay I used I found at Spotlight, and the process really was a cinch. I softened and rolled the clay onto a cutting board and then cut out small circles using a piping nozzle (I get extra points for being resourceful yes?) Then it was just a matter of punching teeny tiny holes into the circles using the flat end of a skewer so they became sweet little button shapes!

Once baked, I glued them onto the jewellery bases. And in a few hours; I had dozens of handmade button rings and earrings!  I am so excited to give them to my friends and family as little gifts and surprisingly I am still yet to have the chance to wear a pair myself!

This DIY is a fantastic idea leading up to Christmas or a month where the birthdays seem to just be rolling in. For a small price and a little time, you have very affordable and one of a kind gifts. Giving handmade really does mean so much more!

Description of Photo

What have you been crafting lately? Have you ever tried to make your own jewellery? I am thinking of perhaps doing another batch of these sweet little buttons and may have a few left over that need homes...So keep your eyes bright and your ears tuned!
Plenty of love, 
winterlove blog natalie

Saturday, June 9, 2012

A nesting DIY

Description of Photo
A DIY I have been meaning to share with you for quite some time now is our baby mobile. This mobile has been the product of my nesting efforts. A sweet little mobile for baby to gaze at when laying in her bassinet, or probably more so for me to gaze at when watching over her!

Description of Photo

The process? I made the birds from saltdough and pierced them with a skewer before baking. Once cooked and cooled I gave them a few coats of acrylic paint and threaded through some natural coloured thread, I then tied them to a wreath I had picked up at a market some time ago.

How easy is that? It didn't take hours or intense concentration and the effect is simple and beautiful.

Description of Photo

Did you get the urge to craft when in your nesting prime?
Plenty of love, 
winterlove blog natalie

Wednesday, June 6, 2012

My Favourite Spaces

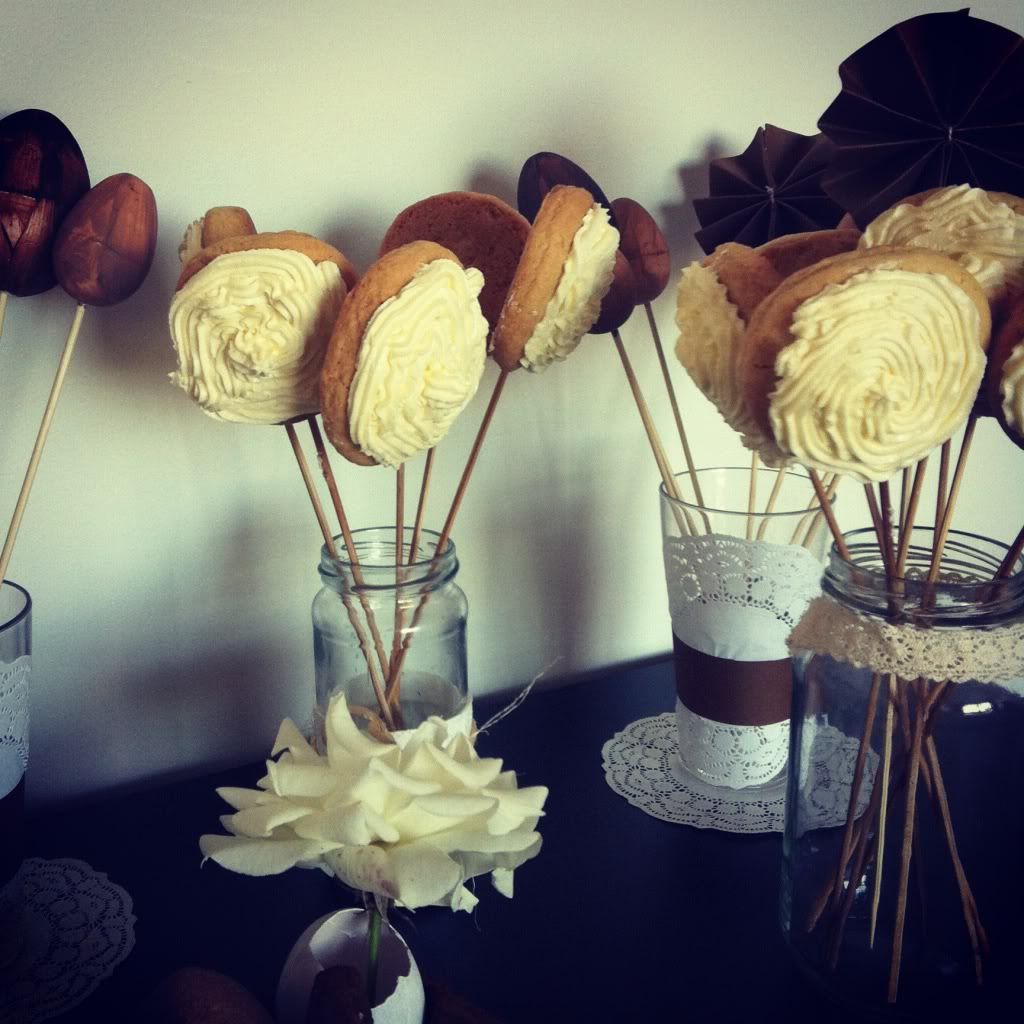
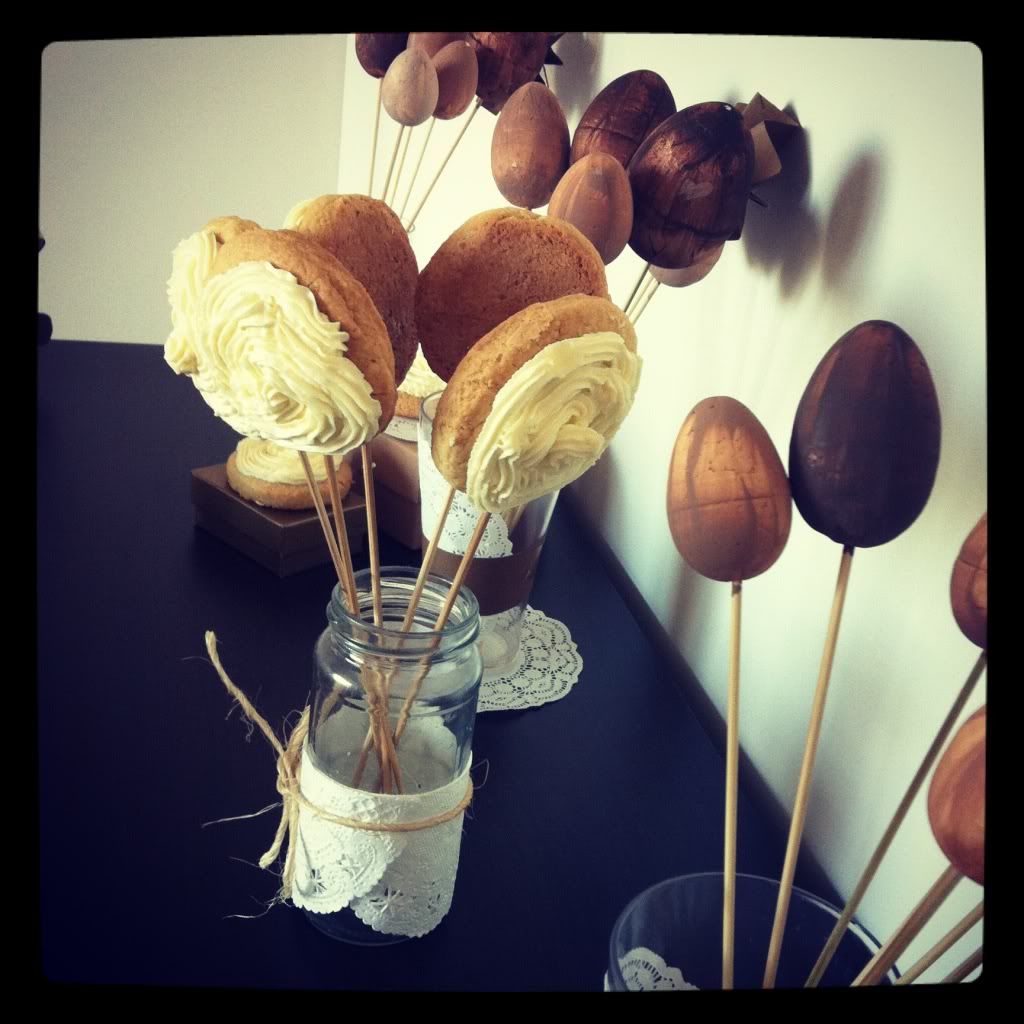
During a recent burst of nesting, I did a lot of re-arranging of furniture and re vamping of decor. It's a 'chore' that I love! I love personalising our home with colour, texture and handmade touches. I thought I would share with you some of my favourite little corners of the house; The girls' spaces.

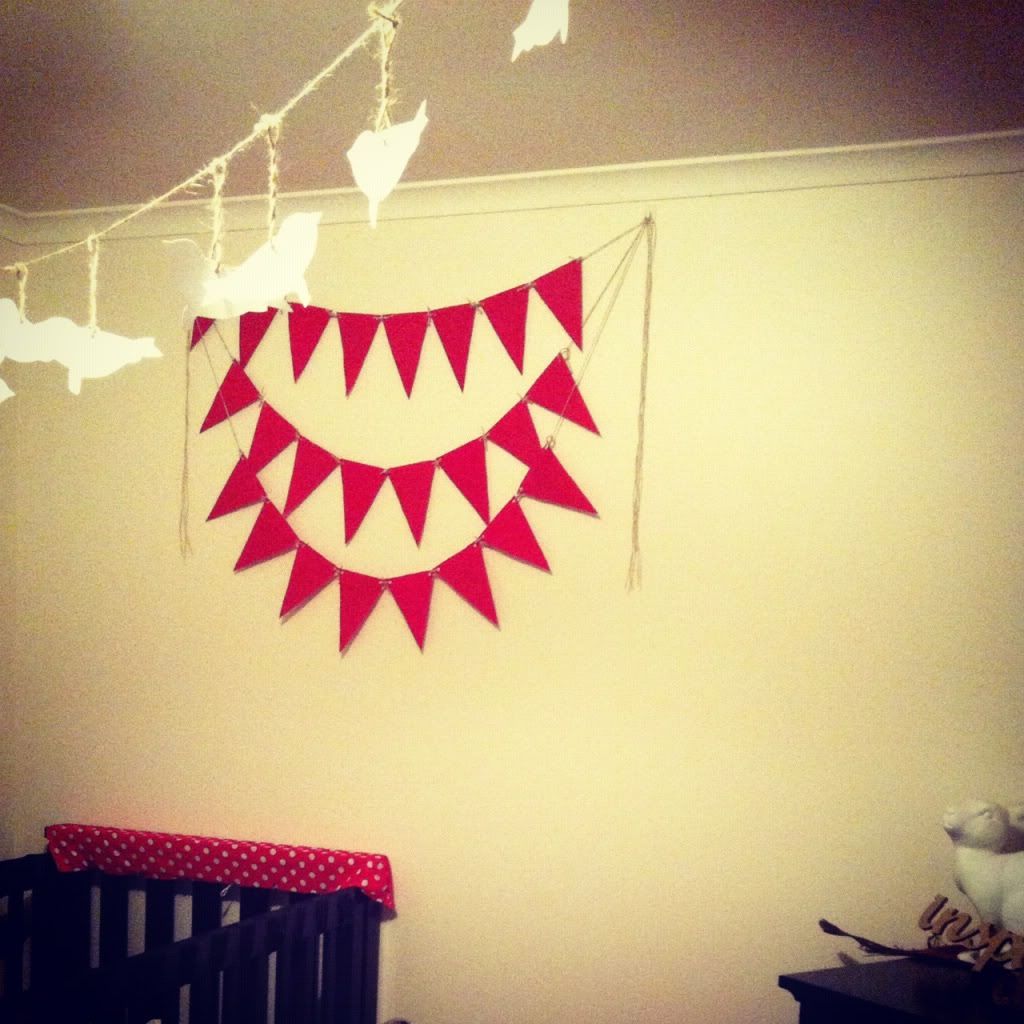
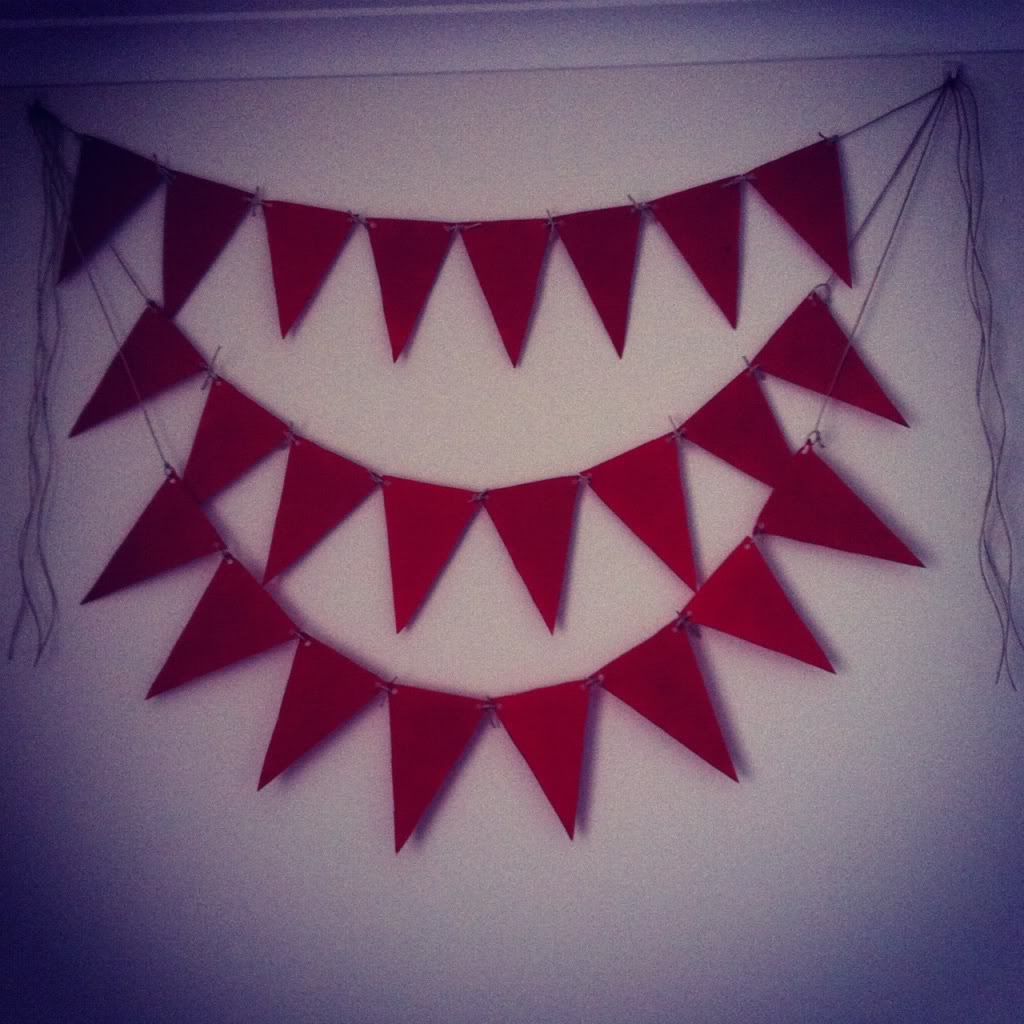
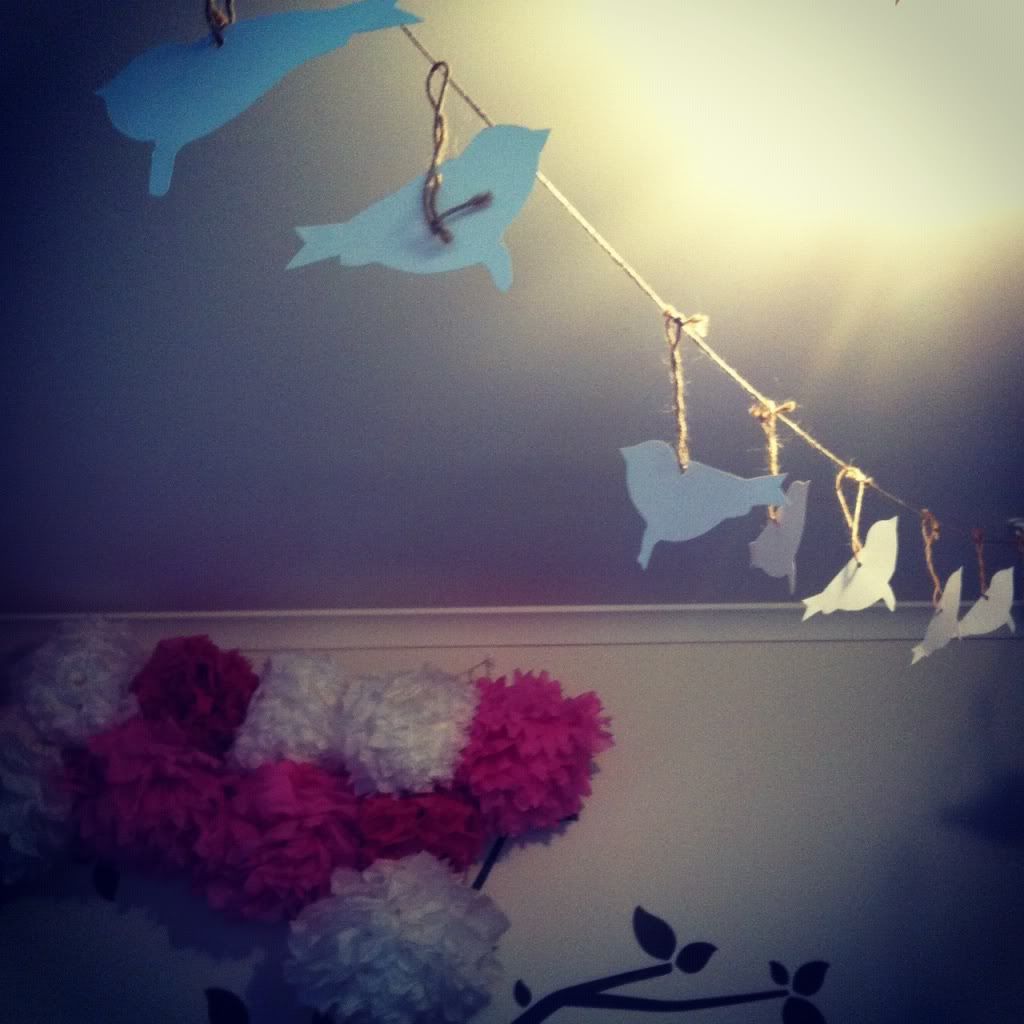
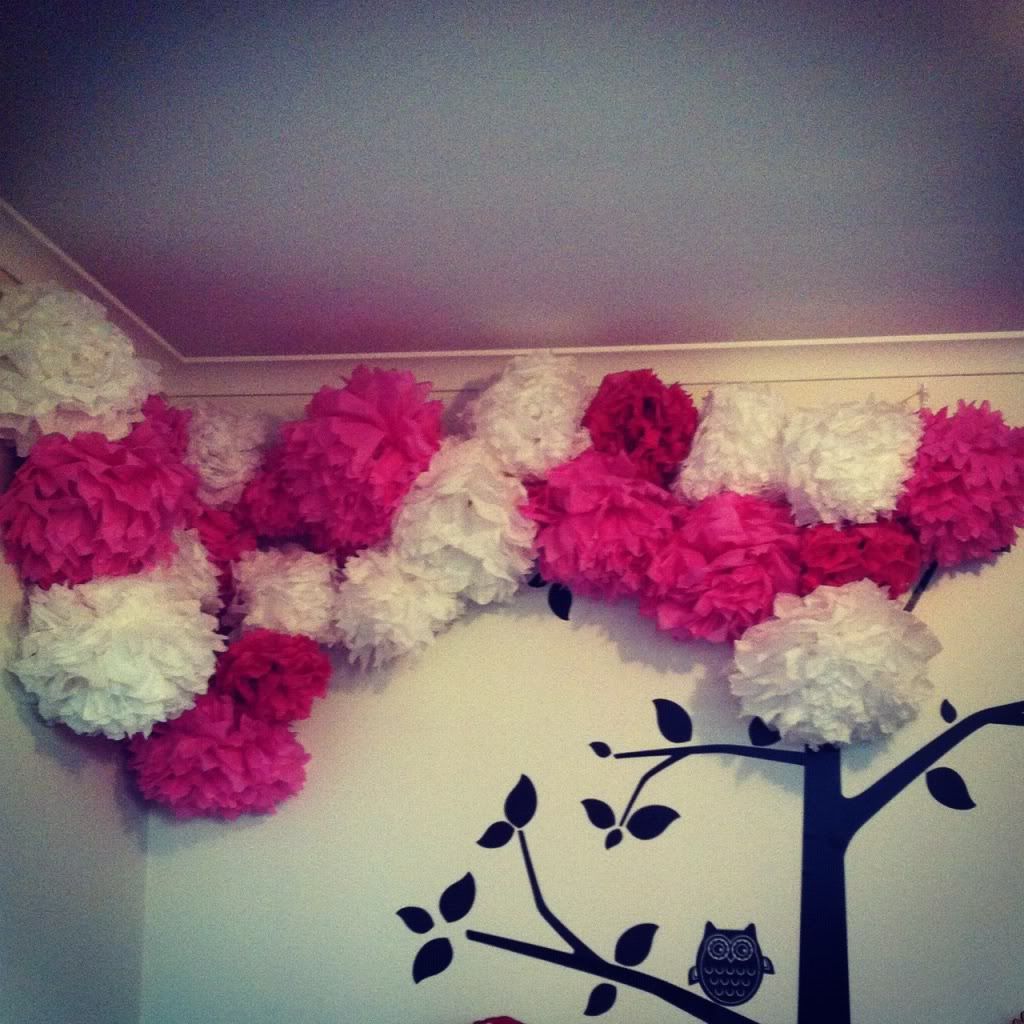
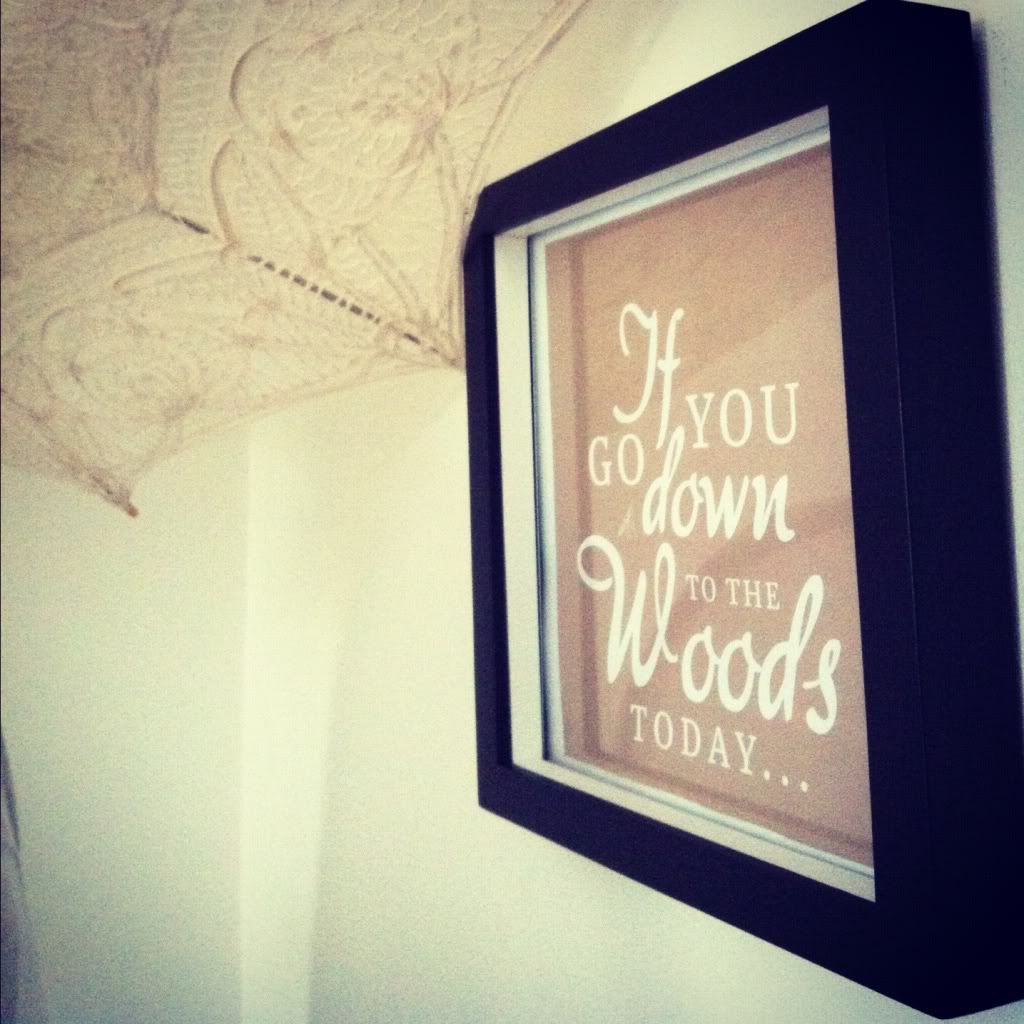
Stella's room has transformed from a nursery to a room fit for a 'big girl'. It is full of tones of Scarlet, pink, chocolate and polka dots giving it a woodland feel.  There are little paper birds hiding here and there, wooden trees all about and little red coats hanging out on display. It's reminds me of a scene taken from Little Red Riding Hood. Like the storybook, come to life.

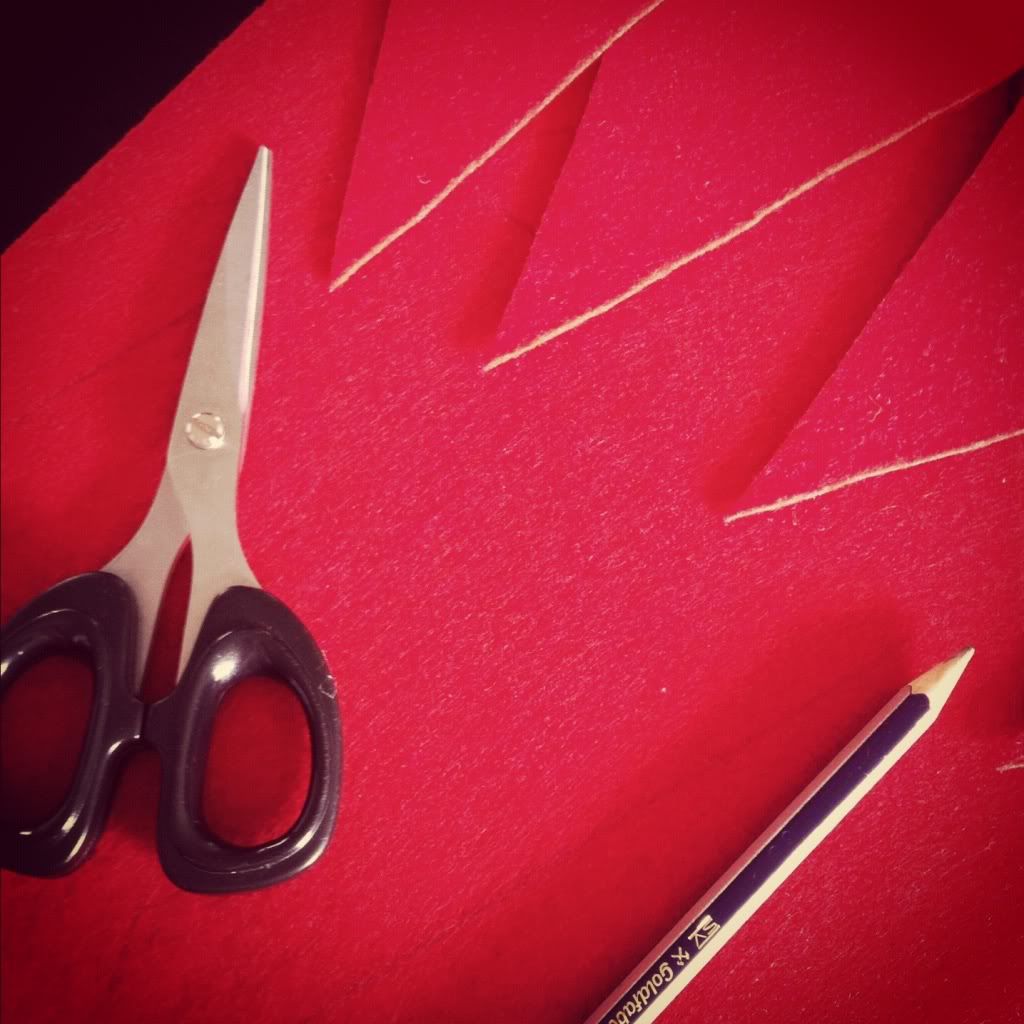
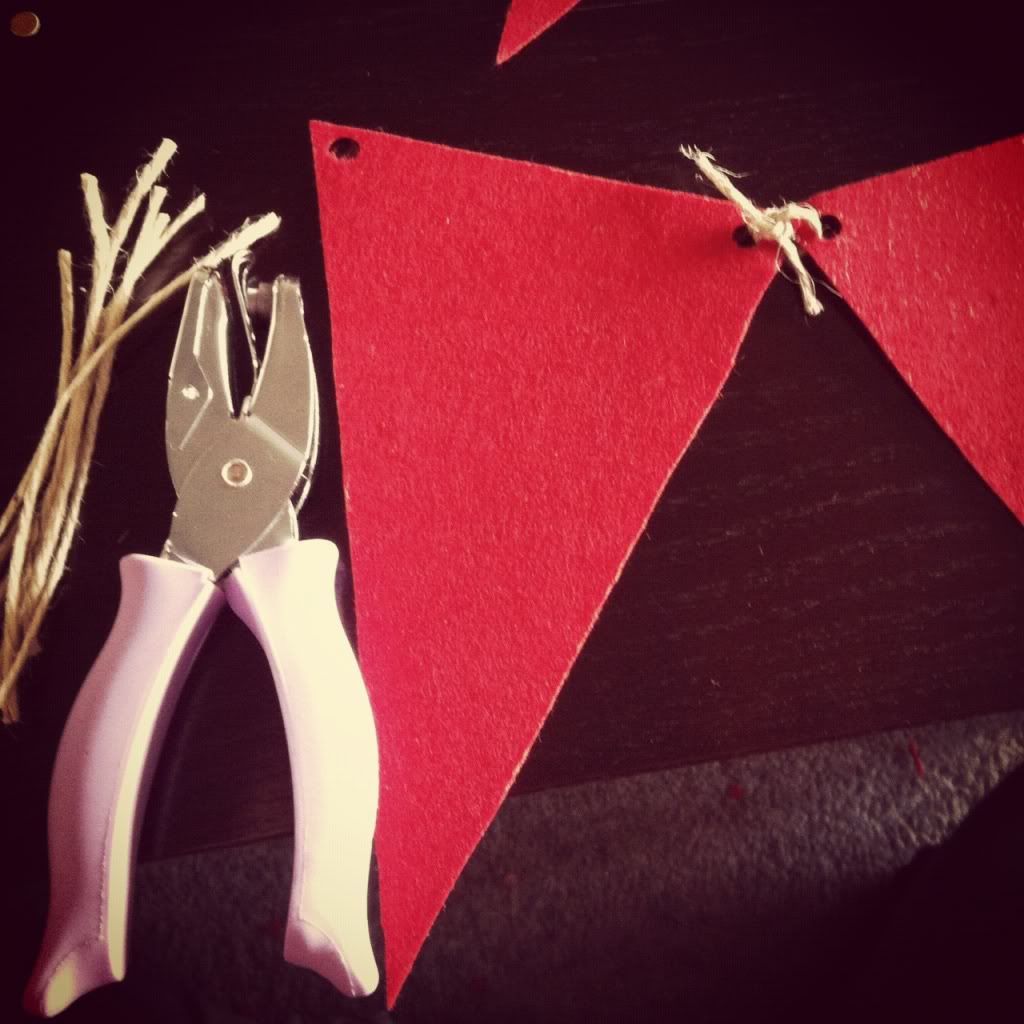
There is one blank wall still to be adorned with sweet touches that is on my to-do list, I am madly collecting ideas and inspiration and hope to finish it before Stellas sister arrives.

Description of Photo
When she finally arrives, baby #2 will have her own 
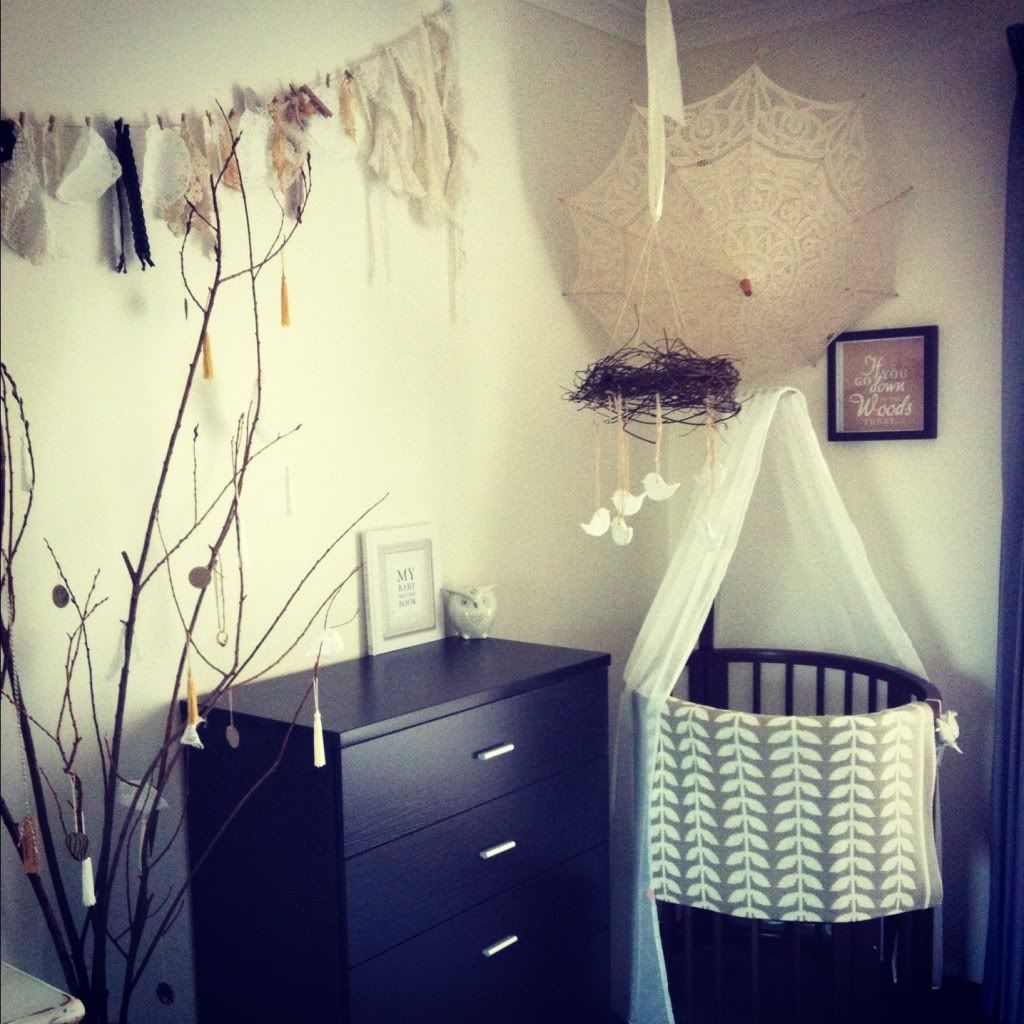
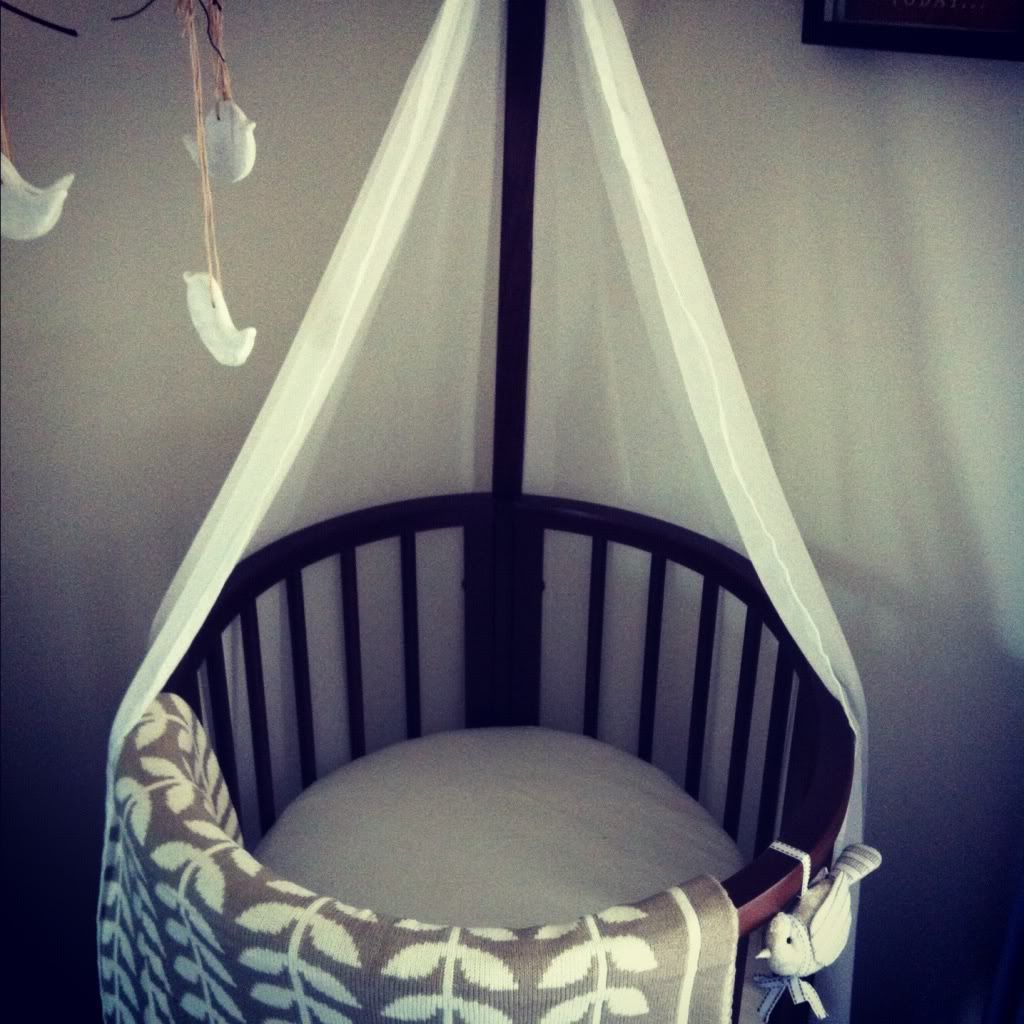
comforting space in our bedroom. We are lucky enough to have a huge room so are able to fit the cot, changetable and drawers all in comfortably and without clutter. The cot we ended up deciding on, is the Stokke Sleepi. I adore the way it fits in the corner and it's rounded modern design. At the moment we have it set to the bassinet size, I can't wait to extend it and watch it grow with her through to a junior bed. It was well worth the investment, and a beautiful piece of furniture.

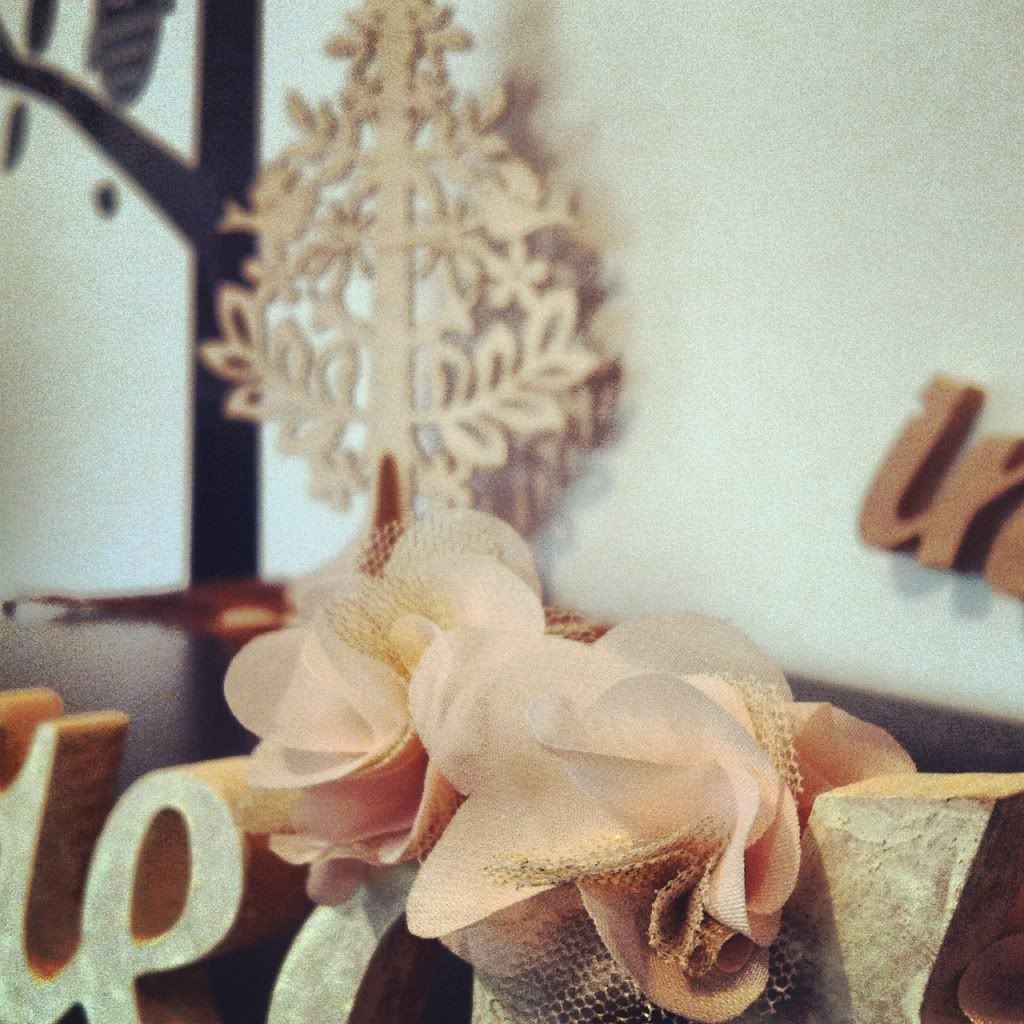
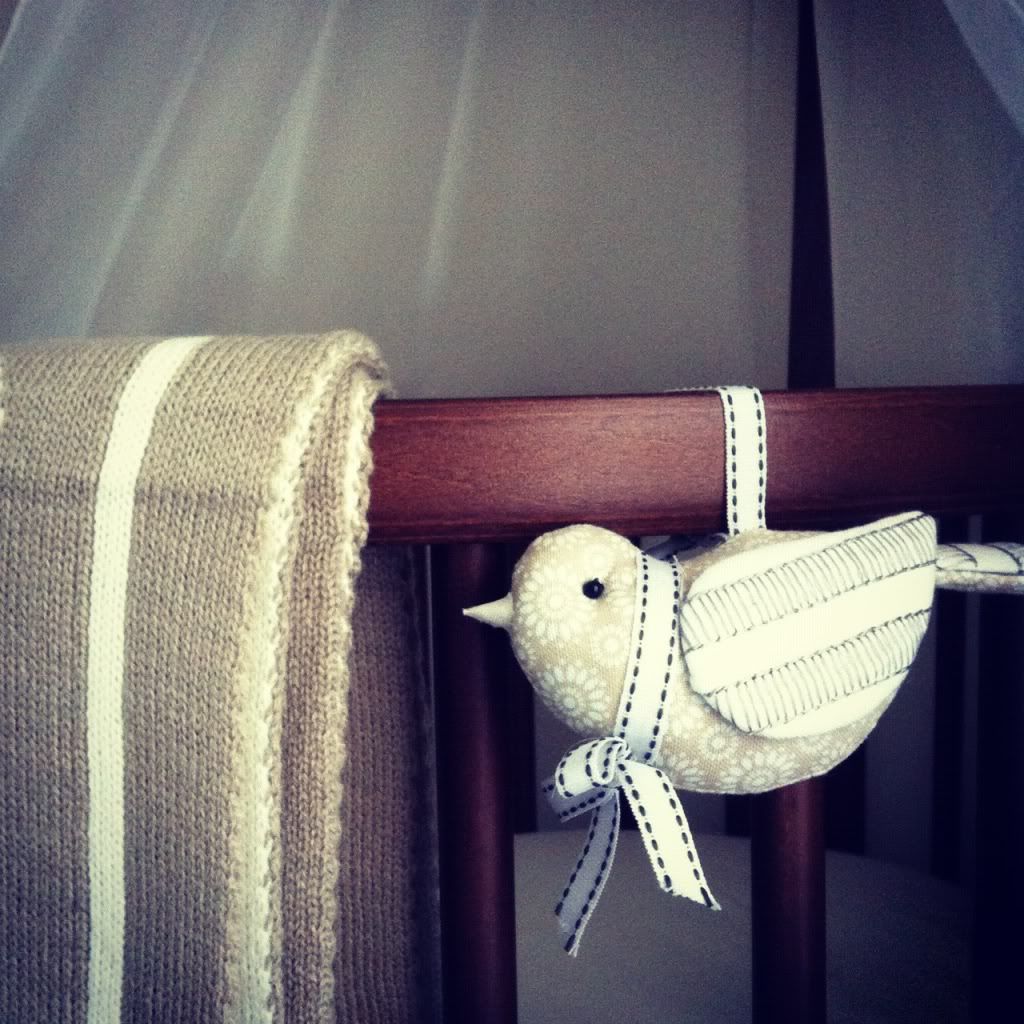
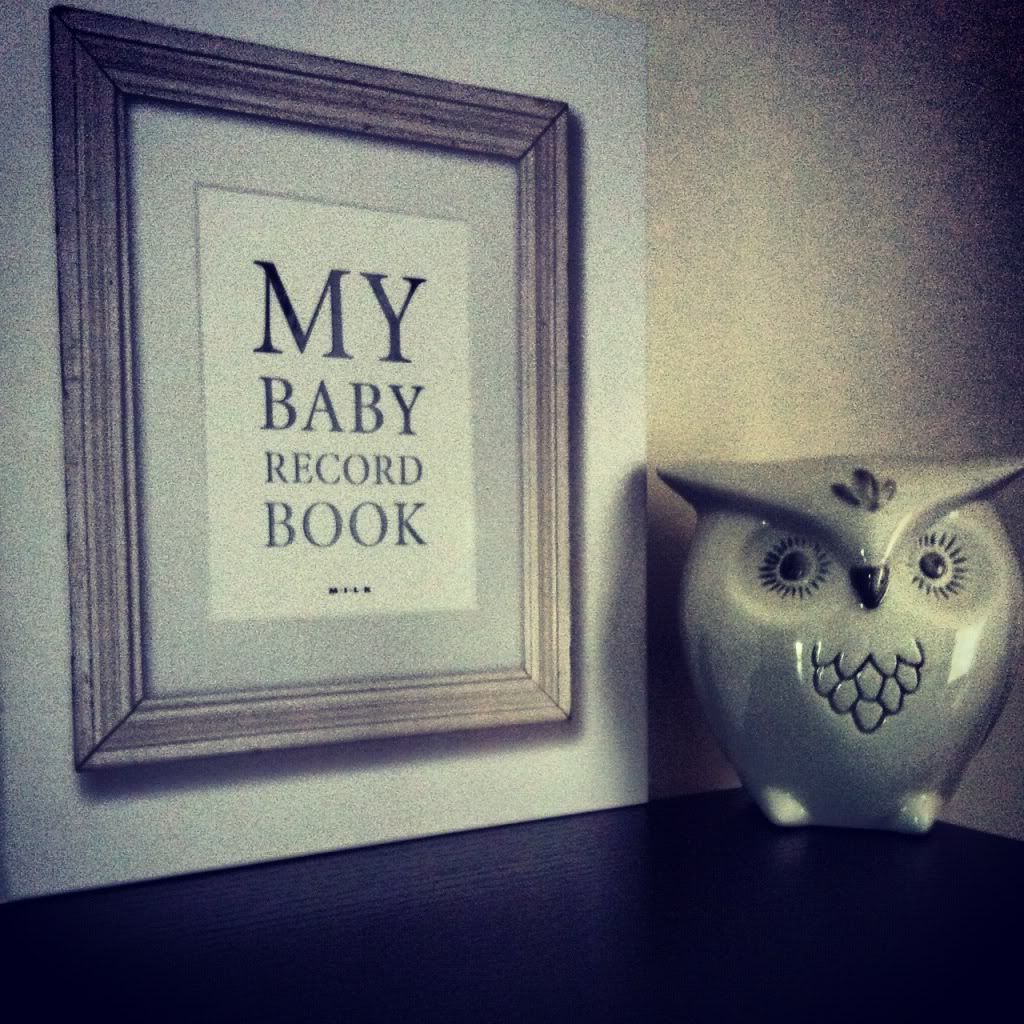
White, toffee and walnut are the colours we've chosen to surround our little one with.We are still to add some 
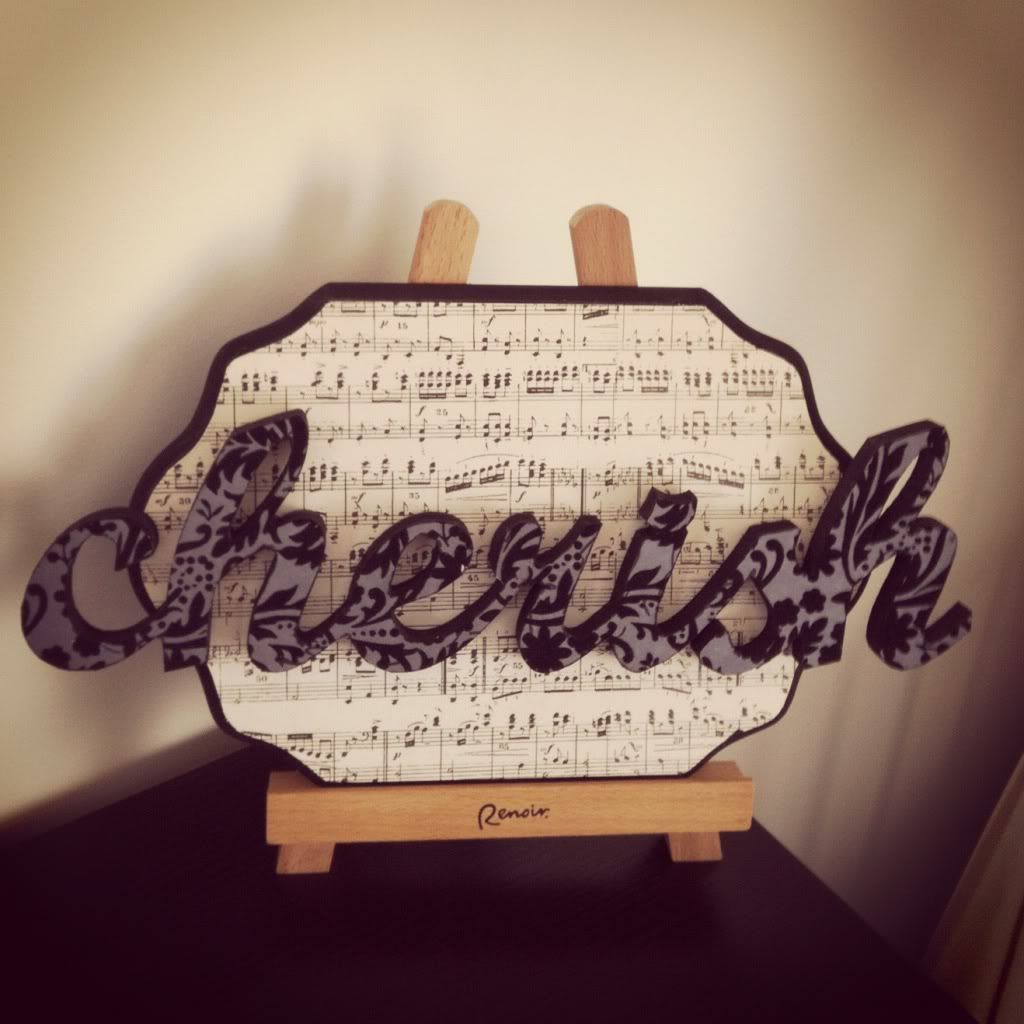
personalised touches to decorate her space, something we hope to do when she has a nursery of her own. Nick surprised me this week, by coming up with his own DIY creation for her space. Perhaps he is also nesting? The plaque he made is stunning, I was both pleasantly surprised and proud that he made something so pretty!
Description of Photo

And those are my favourite corners of our home, the girls' spaces. What are your favourite spaces in your home?
Plenty of love,
winterlove blog natalie

Thursday, May 3, 2012

A sweet {but salty} DIY

creative goodness

Saltdough. Probably one of the best things I have discovered since Etsy. Well, not quite. But crafting with salt dough is becoming quite an obsession!

I recently decided to try making some salt dough as a craft project with Stella, and it was a success! She loved making patterns with her fingers in mounds of flour and copying me knead the dough. The mess was relatively manageable and the outcome? A toddler full of smiles and an oven full of sweet little birdies and buttons.

craft with toddlers

I have been using our salt dough creations to adorn gifts, stick to walls and more recently...to make our babys mobile! It really is a cinch for any mama and babe to try... here's how!

* In a large bowl mix 1 cup of salt and 2 cups of flour
gradually stir in one cup of water (lukewarm) until mixture becomes 'doughy'.
* Knead your dough for at least 5 minutes. (The longer you knead, the smoother it will be).
* Place your creations on a lined baking tray and bake at 120 degrees Celsius. Depending on the size, they make take anywhere between 45minutes and two hours in the oven...Remember to keep peeping at them regularly!

Description of Photo

Description of Photo
And that's it! How simple is that! You can paint your little ornaments once they have cooled or leave them their natural colour. You can even colour them before baking by adding some ingredients from your pantry to the uncooked dough. I used cinnamon, coffee and curry powder to create different shades of latte, brown and mustard.

What crafty projects do you think are manageable with a toddler? Any favourites you'd like to share?
Plenty of love, 
winterlove blog natalie

Thursday, April 12, 2012

Easter Crafts; Part 3.

The third and final Easter Crafts installment features two very easy ideas for stunning Easter lunch table centrepieces. No fluff or pastels required!

Easter table
easy cenrepieces

Nothing symbolises Easter more recognisably than an egg, and they are something we use many times a week. So why not recycle your egg shells and put them to pretty work! For this centrepiece I washed eggshells well, let to dry and then painted with a coat of white acrylic paint. Spray painting them would also work quite well and in hindsight, would be a great time saver! I then painted an old egg carton in colours complementing the theme and placed the egg shells inside. Fill with a little water, pop in a bloom from your garden, and there you have it! A simple, pretty, cheap and egg-ceptional centrepiece!
egg shell display
Degg shell display


The most commonly used centrepiece on a table is often a vase of flowers, so this Easter I decided to mix it up a little and have vases of...you guessed it...eggs! I purchased these styrofoam eggs from spotlight, painted in different tones matching the colour theme and pierced with a skewer. A 5 minute way to create a different and effective decorative piece for your Easter lunch table or your kitchen bench.

*Handy Hint* - You don't need to have an extensive collection of vases to create a pretty display. Simply wrap a doily or piece of fabric around a suitable sized glass or plastic cup!
egg bouquet
egg bouquet

I can't wait to create another Easter display next year, I think I am even anticipating it more than the chocolate! How did you decorate this Easter? Did you craft a lot or a little?
Plenty of love,
winterlove blog natalie

Wednesday, April 11, 2012

Easter Crafts; Part 2

pinwheel diy
pretty pinwheels
Pinwheels are a cinch to make, and can dress up any table display effortlessly. You can place them on top of cakes, put them in vases with flowers or use them as a backdrop display.

Here's how I made my pinwheels (Which I added to vases of eggs)

1. You'll need a piece of paper or card that's length is three times its width, for example, I used a strip of card that was 7.5cms wide and 22.5cms long to make a small 7.5cm diameter pinwheel.

2. Fold your card in 2cm increments like a fan and secure in the middle with a piece of wire, staple or string.

3. 'Open' your pinwheel so that each side meets and glue with a hot glue gun, glue in a bamboo skewer to one of the pinwheels folds from the back.

And that is it! You could add a sweet button or embellishment to the front of your pinwheel or even layer larger sized ones on top of each other.

DIY pinwheels

Being very stuck for time, this busy mama just made the simplest and quickest version of a pinwheel in one block colour. You can however, use lots of alternative colours, shapes and sizes, I especially like these ones! When time permits, I want to make millions and millions of pretty pinwheels in all beautiful colours.

Happy Pinwheel crafting!
Plenty of love,
winterlove blog natalie

Saturday, April 7, 2012

Easter crafts; Part 1

sugar cookie wands

Easter decorating doesn't have to be all about pastels, fluff and brights. You can create a beautiful table display for Easter lunch, handmade gifts for family or props for children without even picking up a pink marker.

This Easter I chose a colour palette of chocolate, latte and cream to adorn our house with, and I thought I'd share with you all over the next few days the little DIY projects I nesting-ly lost myself in.

Firstly, Sugar Cookie Wands!
sugar cookie DIY
I used this easy recipe for Kiss Biscuits and inserted a bamboo skewer before baking for 10-15 minutes. Once cooled, I piped on frosting and refrigerated to set. I have found the best recipe for frosting to be a combination of a few floating around the Internet and my fail-proof method (after plenty of practice) is:

Soften 250 grams of butter, Sift in 3 cups of icing sugar and beat on high with an electric mixer for 2 minutes. Add 1/4 a cup of milk, and beat for a further minute.
sugar cookie DIY
sugar cookie DIY
Sugar cookie DIY

Once the icing has set, you can either display the cookie wands in jars on your Easter lunch table or hand them out to the kiddies for a chocolate alternative gift. Perhaps even tie together the 'wands' with a ribbon or some twine and pop into a small vase for gift giving; an Easter cookie bouquet!

Sugar cookie wands can be adapted for any celebration really, just add colour suiting your theme or even get creative with frosting and pipe some bunny ears, Christmas trees or birthday numbers. You certainly don't have to be a baker to make a pretty yet easy treat!

Sugar cookie DIY
sugar cookie wands
sugar cookie wands


Stay tuned for more Easter decorating DIY projects over the next few days! I can't wait to show you more goodies!
Plenty of love,
winterlove blog natalie